As an Amazon Associate, we earn from qualifying purchases. Some links on this site are affiliate links at no extra cost to you. Our recommendations are based on thorough research and editorial judgment.

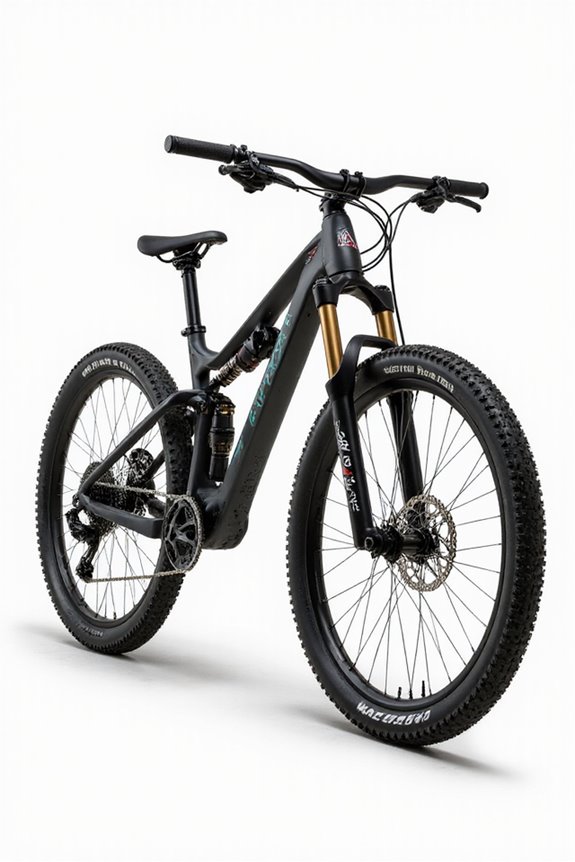
How to Choose a Mountain Bike for Trail Riding

Choosing a mountain bike for trail riding starts with the trails you actually plan to ride. Match the bike to terrain, climbing, descending, technical features, transport, maintenance, and your fit rather than choosing from a specification alone. The right setup should feel controlled and comfortable at your pace, with components and support you can realistically maintain.
Key Takeaways
- Describe your usual trails before comparing bike categories or components.
- Match suspension and geometry to the balance of climbing, descending, and technical terrain.
- Check tire clearance, tread, brakes, gearing, and dropper-post compatibility.
- Prioritize frame fit, contact points, service access, and a test ride over isolated numbers.
- Compare complete-bike specifications, warranty terms, and local support before buying.
Understanding Trail Riding Terrain
You may be interested


Start by describing the surfaces and features you expect: smooth singletrack, loose soil, roots, rocks, steep grades, wet conditions, or bike-park terrain. Look at the trail’s technical difficulty, likely weather, and how far you must climb or carry the bike. A bike for flowing local trails may prioritize efficient pedaling, while rougher routes may call for more control and protection. Use current trail descriptions and local riders’ experience, but verify conditions before each ride.
The Importance of Bike Versatility
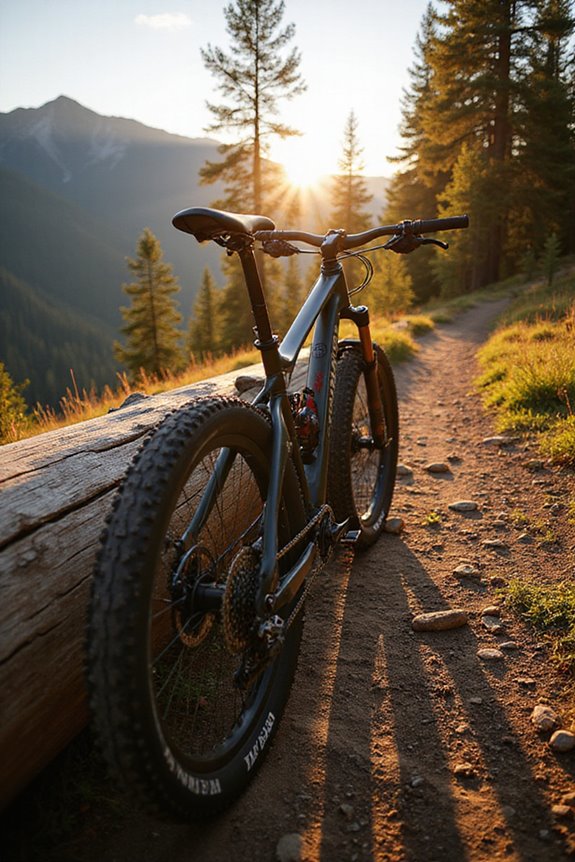
A versatile trail bike should suit the majority of your rides without creating a problem elsewhere. Consider climbing position, descending confidence, suspension adjustment, tire clearance, mounting points, and total weight together. A lighter or more efficient design may be easier to pedal, while a more descending-focused setup may feel calmer on rough ground. Choose the trade-off that matches your actual use rather than paying for capability you rarely need.
Key Features of Trail Bikes
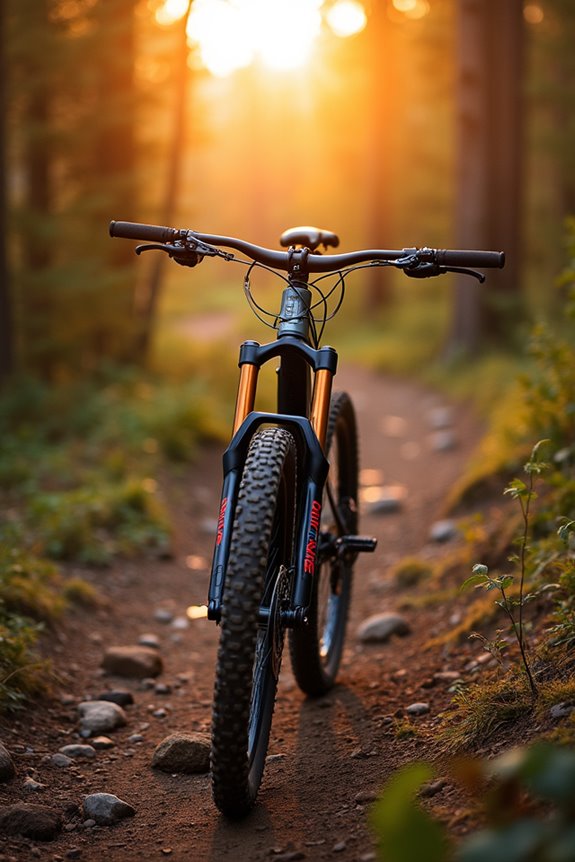
A mountain bike isn’t just a bike; it’s a ticket to adventure, and understanding the key features of trail bikes can make all the difference in the ride. First off, frame materials like aluminum and carbon fiber play a vital role; aluminum offers durability at a lower cost, while carbon fiber is the lightweight champion. Now, let’s talk geometry—trail bikes have a longer reach and steep seat tube angles for climbing efficiency and control on those gnarly descents. And don’t forget about suspension types; a good balance of travel is essential for tackling rough terrains. With wider handlebars and shorter stems, handling becomes a breeze. Ultimately, these features transform each ride into an exhilarating journey through nature’s playground.
Suspension Travel Explained
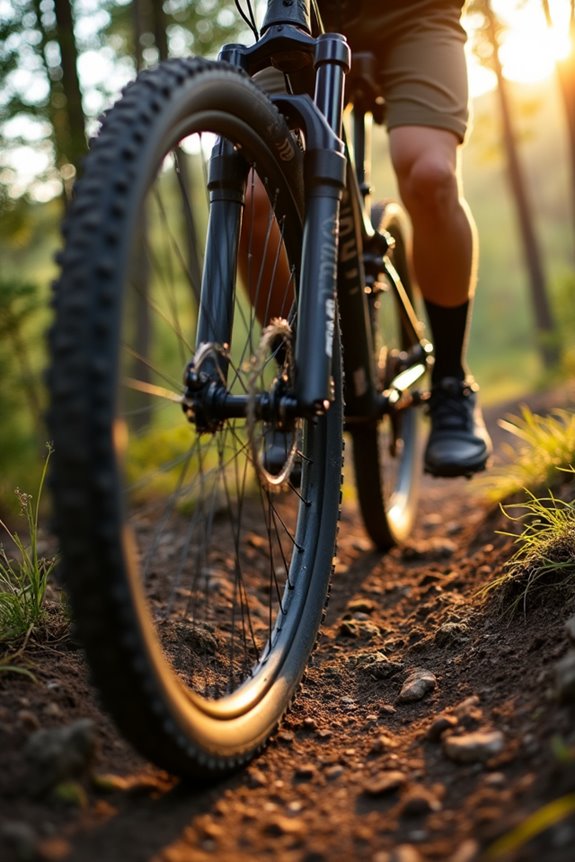
Suspension travel can make or break a mountain biking experience, especially when maneuvering the rugged terrain of a trail. It refers to the distance suspension moves before hitting full compression, measured in millimeters or inches. Different suspension types, like short travel under 120mm for smooth climbs, or long travel over 120mm for wild descents, cater to various riding styles. For instance, all-mountain bikes boast 120 to 160mm, striking a balance between control and versatility. Riders must consider their terrain and style; more travel for bumpy trails means better absorption of those gnarly rocks. However, too much travel can lead to inefficiencies. Ultimately, finding the right suspension travel is essential for a comfortable and controlled ride.
Choosing the Right Tire Width and Type
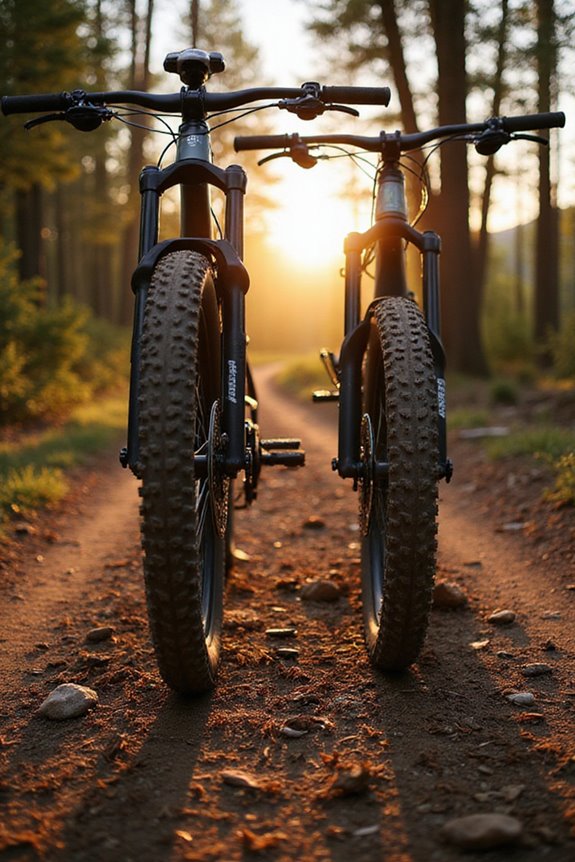
Choosing the right tire width and type can feel like traversing a maze, but it’s one of the most essential decisions for any mountain biker hitting the trails. For trail riding, widths between 2.3” and 2.6” strike a perfect balance between traction and speed. A wider tire can be your best friend on technical terrain, gripping the ground like a pro, while narrower tires are ideal for those smooth, speedy trails. Don’t forget tire pressure—proper inflation can greatly impact your ride. Tread patterns matter too; aggressive designs help with grip, while low-profile knobs can increase your speed. So, think about your riding style and the trails ahead, and choose wisely!
Assessing Bike Geometry for Comfort and Performance
Geometry affects reach, stack, head angle, seat angle, wheelbase, and how the bike behaves under braking or climbing. Use the manufacturer’s size chart as a starting point, then consider torso and leg proportions, riding posture, and the position you prefer on descents. A test ride can reveal whether the cockpit feels cramped, stretched, or difficult to control. Saddle height, stem length, bars, and grips can fine-tune fit, but they cannot fully correct a poorly chosen frame size.
Evaluating Brake Systems for Safety
Reliable brakes should offer predictable power, usable modulation, and levers that fit your hands. Hydraulic and mechanical disc systems have different service requirements, so compare stopping feel, rotor size, pad availability, and local repair support. Inspect hose or cable routing and make sure the levers are easy to reach from your normal position. Brake condition and correct setup matter more than a marketing label; any rubbing, contamination, damage, or unusual lever travel deserves attention before a trail ride.
Gearing Systems for Efficient Riding
Choose gearing for the steepest climbs you expect and the cadence you can comfortably maintain. A wide-range drivetrain can make climbing easier, while a simpler setup may reduce adjustment and maintenance. Compare the cassette, chainring, derailleur capacity, shifting under load, replacement cost, and compatibility of the complete system. Test the lowest gear on a realistic climb if possible, and remember that tire choice and fitness also affect how a bike feels uphill.
Additional Features to Consider
Useful extras may include a dropper seatpost, tubeless-ready wheels, frame protection, bottle mounts, storage points, and standardized replacement parts. Decide which features solve a real problem for your riding and which can be added later. Check the supplied specification carefully: a frame may support an upgrade without including it, and component availability can vary by size or region. Prioritize dependable essentials before cosmetic upgrades.
Making Informed Purchasing Decisions
Compare complete specifications, fit, service access, warranty terms, return conditions, and the reputation of the seller. Read reviews for recurring issues rather than relying on star ratings or a single dramatic experience. Ask a local shop or experienced rider to check the fit and intended use. If you also train indoors, review these bike trainer options, but do not assume an indoor trainer is compatible with every mountain-bike frame or axle standard.
Frequently Asked Questions
What is the ideal weight for a trail bike?
There is no single ideal weight. Judge the complete bike against your terrain, climbing needs, handling preferences, fit, durability, and budget. A lighter bike may be easier to carry or pedal, while a more robust build may be better suited to rough use.
How should I maintain a mountain bike?
Clean the bike appropriately after muddy or dusty rides, inspect the tires, brakes, chain, bolts, suspension, and wheels, and follow the manufacturer’s service intervals. Replace worn or damaged parts before they affect control. A qualified shop should handle work outside your tools or training.
Can I customize a mountain bike after purchase?
Usually, but compatibility must be checked first. Confirm standards for the wheels, drivetrain, brakes, cockpit, seatpost, and suspension, and consider how a change affects fit or handling. Upgrade safety-critical parts with help from a qualified mechanic.
What clothing and gear do I need for trail riding?
Wear a properly fitted helmet and clothing suitable for the weather and effort. Carry water, a phone or communication method, basic repair supplies, a pump or inflation device, and any navigation or first-aid items appropriate for the route. Check the trail plan before deciding what to bring.
When should I replace bike components?
Replace a component when inspection shows wear, damage, reduced performance, or a manufacturer service requirement—not only because a calendar date has passed. Chains, brake pads, tires, cables, suspension parts, and bearings wear at different rates. If you are unsure, ask a bike mechanic to assess the part.